Asana Breakdown

RICHARD ROSEN'S ASANA BREAKDOWN - MATSYASANA

shutterstock_552386257.jpg

MATSYASANA

(mot-see-AHS-anna) 

matsya = fish 

Fish Pose is a traditional asana. It’s described in the late 17th century Hatha text titled Gheranda’s Collection (Gheranda Samhita, see 2.21). For a very long time I tried but couldn’t figure out why the pose is supposed to look like a fish. Then one day I ran across this comment in Popular Yoga Asanas, by Swami Kuvalayananda: “The pose is called Matsyasana because in swimming a person can float on water, like a fish, for a considerable time, if he steadily lies there in this posture.” (pp 67-8) Actually a person can float in water for very long time in any position, so I don’t find Swami K’s explanation credible. The mystery of the pose’s name continues. 

Be that as it may, there seem to be two slightly different ways this pose can be performed. In one version the torso is lying flat on the floor with the arms crossed overhead. In the other version, the torso is arched off the floor, braced between the buttocks and the crown. In either case the legs are described as being in Lotus (padmasana). For safety’s sake, we’ll pass on Lotus and either have the knees bent, feet on the floor, or legs extended and resting on the floor.

1. Lie on your back on the floor with your knees bent, feet on the floor. Inhale, lift your pelvis slightly off the floor, and slide your hands, palms down, below your buttocks. Then rest your buttocks on the backs of your hands (and don’t lift them off your hands as you perform this pose). Be sure to tuck your forearms and elbows up close to the sides of your torso. 

2. Inhale and press your forearms and elbows firmly against the floor. Next press your scapulas into your back and, with an inhale, lift your upper torso and head away from the floor. Then release your head back onto the floor. Depending on how high you arch your back and lift your chest, either the back of your head or its crown will rest on the floor. 

3. You can keep your knees bent or straighten your legs out onto the floor. If you do the latter, keep your thighs active, and press out through the heels. 

4. Stay for 15 to 30 seconds, breathing smoothly. Then with an exhale lower your torso and head to the floor. Draw your thighs up into your belly and squeeze. 

5. Remember that there’s an alternative, which is to lay the torso on the floor, with no back bend. 

Benefits

Stretches the deep hip flexors (psoas) and the muscles between the ribs

Stretches and stimulates the muscles of the belly and front of the neck 

Stretches and stimulates the organs of the belly and throat

Strengthens the muscles of the upper back and back of the neck 

Improves posture

Richard Rosen's Asana Breakdown - PURVOTTANASANA 

East Pic.jpg

PURVOTTANASANA 
(poor-voh-tan-AHS-anna
purvottana = intense stretch of the East (purva = east; uttana = intense stretch) 


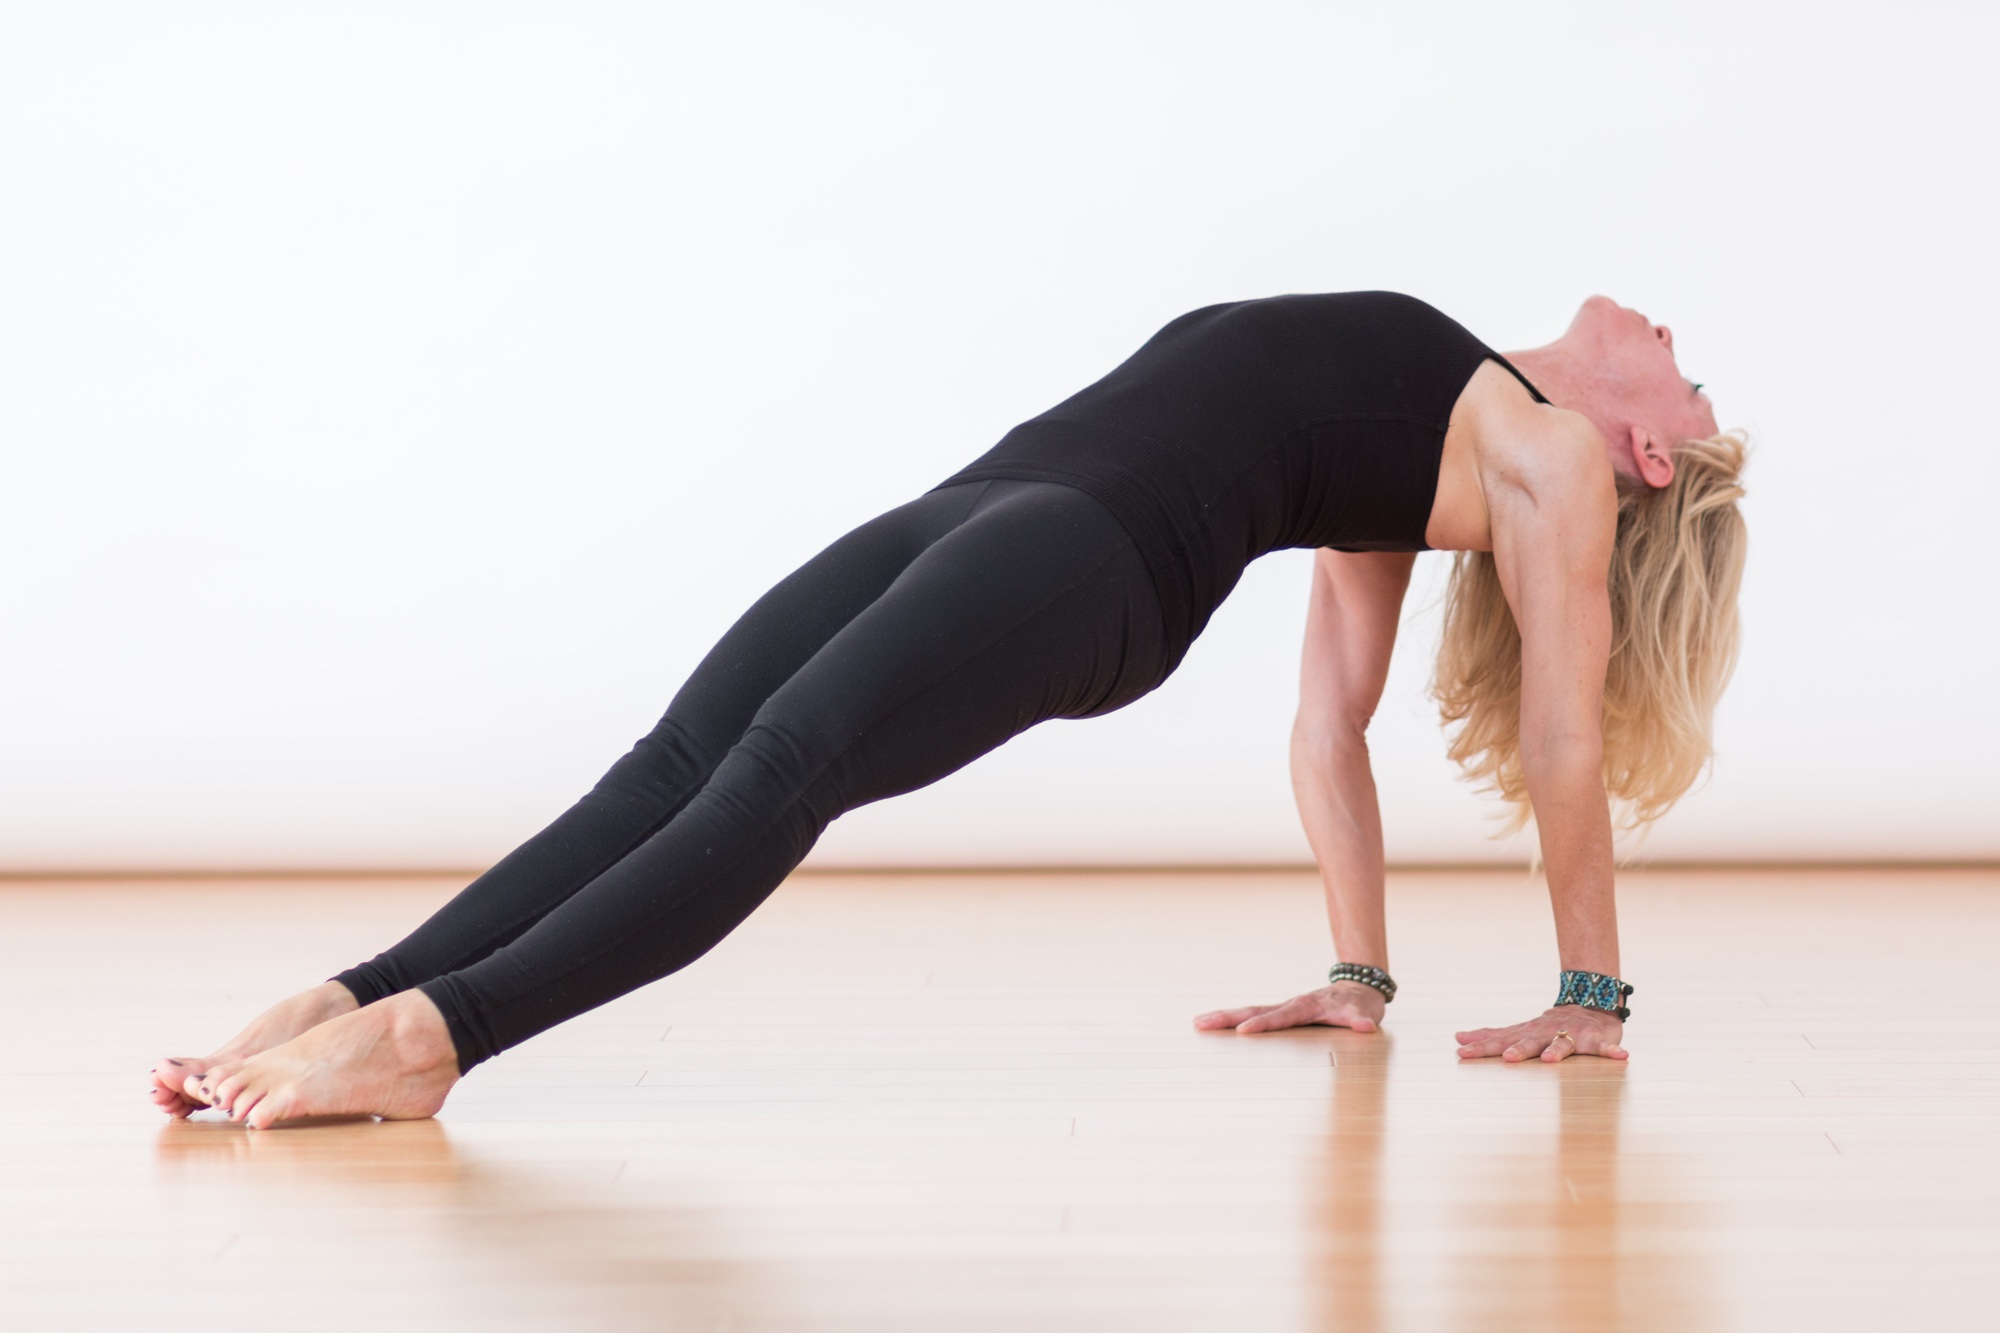
Stretch-of-the-East Pose. According to hatha yoga, the human body is a miniature representation of the world at large. The four “quarters” of the body, the front, back, head, and feet, are analogized with the four compass points. The front body then stands for the east (purva), the  quarter of the rising sun; conversely, the back body stands for the west (pashcima), where the sun sets. So we have two complementary poses, Purvottanasana and Pashcimottanasa. 

1. Sit in Staff Pose (dandasana) with your hands positioned on the floor slightly behind your pelvis, fingers pointing forward, toward your feet. Bend your knees and put your feet on the floor, slightly pigeon-toed, about a foot away from your buttocks. 

2. Inhale and lift your buttocks off the floor into a kind of “table” position. Your arms and forelegs will be more or less perpendicular to the floor, your torso and thighs parallel. For the time being keep your head in a neutral position, with your neck neither flexed nor extended. “Sharpen” your tail bone against the pelvis and “lengthen” it toward the knees as you roll your thighs inward. Firm your shoulder blades against your back, and press your inner hands actively into the floor.  

3. With an inhale stretch one leg forward and press the sole to the floor. Do the same with the other leg. If, when you reach out the legs, you lose the sharpness and length of the tail bone, it’s likely you’ll not be able to bring the soles fully and firm to the floor. So be sure to keep the tail sharp and long. Turn the toes slightly inward, press the inner feet firmly against the floor, and keep your thighs active. Hold your torso parallel to the floor by firming the shoulder blades against the back. 

4. You can keep your head in a neutral position. However, if your chest is open and your shoulder blades can descend actively toward your tail bone, you can drop your head back and extend the neck. Be careful though: the base of the skull shouldn’t jam against the nape. 

5. Hold this position for 30 seconds to a minute, breathing as softly as possible. Then release the buttocks to the floor with an exhale. 

- Benefits

Strengthens the arms and wrists, and the entire back of the body 
Stretches the entire front of the body
Stretches the front ankles 

- Contraindications: Avoid this pose if you have any shoulder or wrist injuries. If you have a neck injury, perform the pose a few inches away from a wall. Use the wall to support the back of your head to keep it in a neutral position (i.e., so the neck is neither flexed nor extended). 

- Modifications & Props: If you have some difficulty performing this pose on the floor, you can instead use a metal chair (be sure its four “feet” are standing securely on a sticky mat). Sit near the front edge of the seat, knees bent at right angles, feet on the floor. With your hands grip the back edge of the seat. Then with an inhale, lift your pelvis off the seat. You can keep your knees bent or straighten them, turning the big toes slightly inward and pressing the inner feet firmly against the floor. 

- Variations: This pose is usually described with the hands turned forward, pointing toward the feet. You can also perform Purvottanasana with your hands turned back, pointing away from the feet. 

- Beginners Tip: It might be difficult for some beginners to get their feet flat on the floor. Estimate where your feet will touch the floor in the full pose, and position a sand bag so that once in the pose it will support the balls of your feet.

- Advanced Tip: To intensify the work of this pose, inhale and lift your right foot off the floor and bring the leg parallel to the floor. Hold for 10 to 15 seconds. Release with an exhale, then repeat with the left leg for the same length of time. 

Video Links:

https://youtu.be/dlc6xCPx60U

https://youtu.be/NwFiWCUkk4M

https://youtu.be/Z5WGEMSdJ_s

RICHARD ROSEN'S ASANA BREAKDOWN - USHTRASANA

shutterstock_472677856.jpg

USHTRASANA
(oosh-TRAHS-anna) 
ushtra = camel 

Camel Pose. Camel Pose is a transition between the simpler prone backbends like Locust (shalabhasana) and the more challenging backbends like Upward Bow Pose (urdhva dhanurasana). For this pose you can pad your knees and shins with a thickly folded blanket.

1. Kneel on the floor with your knees at hip width and thighs perpendicular to the floor. Rotate your thighs slightly inward, narrow your hip points, and firm but don’t harden your buttocks. Draw your inner groins deep into your torso. Keep your outer hips as soft as possible. Press your shins and the tops of your feet firmly into floor. 

2. Rest your hands on the back of your pelvis, bases of the palms on the tops of the buttocks, fingers pointing down. Use your hands to spread the back pelvis and lengthen it down through your tail bone. Then lightly firm the tail forward, toward the pubis. Make sure though that your front groins don’t “puff” forward. To prevent this, press your inner thighs back, countering the forward action of your tail. Inhale and lift the top of your sternum by pressing the shoulder blades against your back ribs. 

3. Now lean back against the firmness of the tail bone and shoulder blades. For the time being keep your head up, chin near the sternum, and your hands on the pelvis. Beginners probably won’t be able to drop straight back into this pose, touching the hands to the feet simultaneously while keeping the thighs perpendicular to the floor. If you need to, tilt the thighs back a little from the perpendicular and minimally twist to one side to get one hand on the same-side foot. Then press your thighs back to perpendicular, turn your torso back to neutral, and touch the second hand to its foot. If you’re not able to touch your feet without compressing your lower back, turn your toes under and elevate your heels. 

4. See that your lower front ribs aren’t protruding sharply forward, which hardens the belly and compresses the lower back. Release the front ribs downward and lift the hip points up, toward the lower ribs. Then lift the lower back ribs away from the pelvis to keep the lower spine as long as possible. Press your palms firmly against your soles, with the bases of the palms on the heels and the fingers pointing toward the toes. Turn your arms outwardly so the elbow creases face forward, without squeezing the shoulder blades together. You can keep your neck in a relatively neutral position, neither flexed nor extended, or drop your head back. But be careful not to strain your neck and harden your throat.

5. Stay in this pose anywhere from 30 seconds to a minute. To exit, bring your hands onto the front of your pelvis, at the hip points. Inhale and lift the head and torso up by pushing the hip points down toward the floor. If your head is back, lead with your sternum to come up, not by jutting the chin toward the ceiling and leading with your brain. Rest in Child’s Pose (balasana) for a few breaths. 


RICHARD ROSEN’S ASANA BREAKDOWN

tracy&kayvon.jpg

VRKSHASANA
(vriks-SHAHS-anna) 
vrksha = tree 

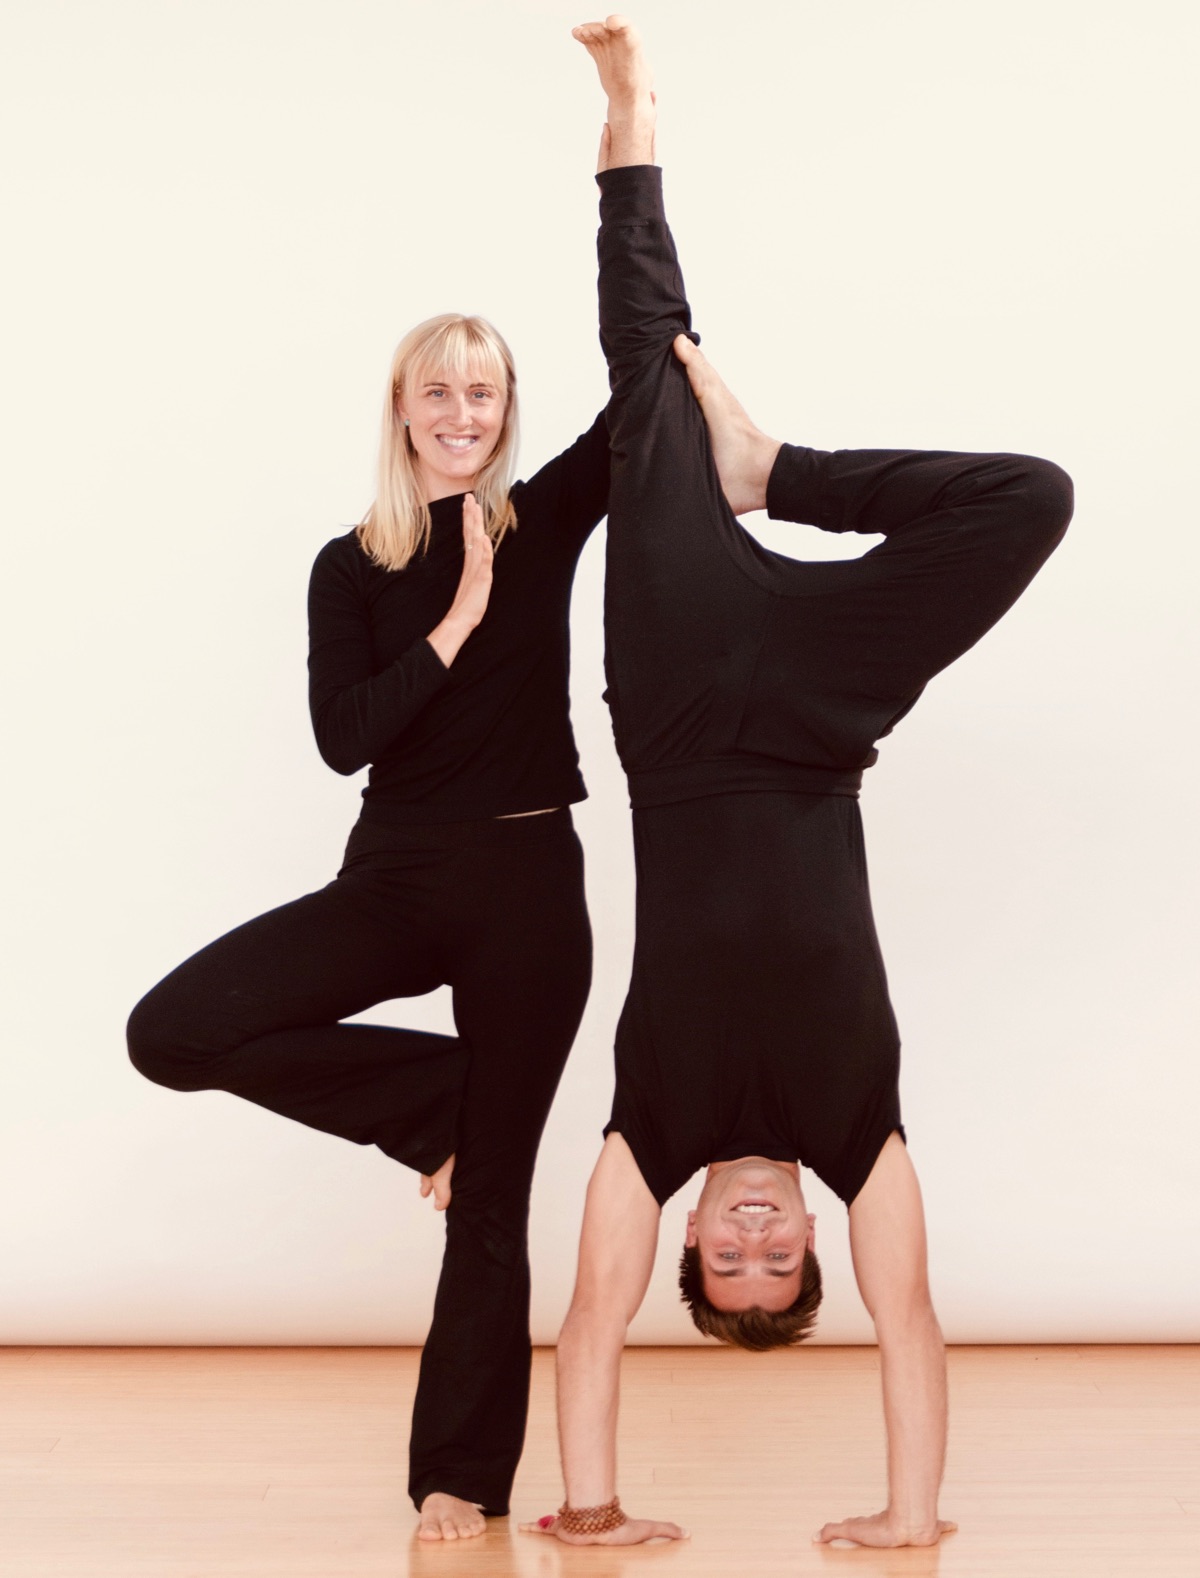
Tree Pose 

1. Stand in Mountain (tadasana). Shift your weight slightly onto the right foot, keeping the inner foot firm to the floor, and bend your left knee. Reach down and, with your left hand, clasp your left ankle. 

2. Draw your left foot up and place the sole against the inner right thigh. If possible, press the left heel into the inner right groin, toes pointing toward the floor. If this isn’t possible, position the foot lower down on the leg, though never directly against the knee. The right leg should be angled slightly relative to the floor so that the center of your pelvis is directly over the right foot. 

3. Rest your hands on the top rim of your pelvis. Make sure the pelvis is in a neutral position, with the top rim parallel to the floor and the two hip points equidistant from the wall opposite you (assuming you’re square to the walls of your practice room). 

4. Lengthen your tail bone toward the floor. Firmly press the left sole against the inner thigh (or the inner leg) and resist that pressure with the outer right leg. Touch your palms together in anjali mudra, resting the joined thumbs lightly against the sternum. Gaze at a fixed point in front of you on the floor, about 4 or 5 feet away. 

5. Stay for 30 seconds to 1 minute. Step back to Mountain with an exhale (the hands touch the hips as the raised foot comes to the floor) and repeat for the same length of time with the legs reversed. 

- Benefits
Strengthens thighs, ankles, and spine 
Stretches the groins and inner thighs, chest and shoulders 
Improves sense of balance 

- Modifications & Props: You can stand with your back braced against a wall if you feel unsteady in this pose. 

- Variations: Stretch your arms straight up toward the ceiling, parallel to each other, palms facing, or touch the palms together forming an inverted V with the arms. 

- Preparatory Asanas: 
Baddha Konasana 
Trikonasana 
Virabhadrasana II 

- Follow-up Asanas: Vrksasana is an excellent preparation for any standing pose. 

- Beginners Tip: If your raised foot tends to slide down the inner standing thigh, put a folded sticky mat between the raised-foot sole and the standing inner thigh. 

- Advanced Tip: As with Tadasana you can challenge your balance by practicing this pose with your eyes closed. Learn to balance without any reference to the outer environment. 

RICHARD ROSEN’S ASANA BREAKDOWN NO.2: CHATURANGA DANDASANA

Asana2.jpg

CHATURANGA DANDASANA (chah-tur-ANG-ah dun-DAHS-anna)


  • chaturanga = four limbs (chatur = four; anga = limb) (SPELLING NOTE: The Sanskrit “c” is pronounced like the “ch” in “church.” Properly then, “chatur” should be spelled “catur.” The “h” has been added to make the pronunciation easier for non-Sanskritists).

  • danda = staff (refers to the spine, the central “staff” or support of the body)

  • Four-limb Staff Pose (the “four limbs” refers to the pose’s four supports, the two hands and two feet)


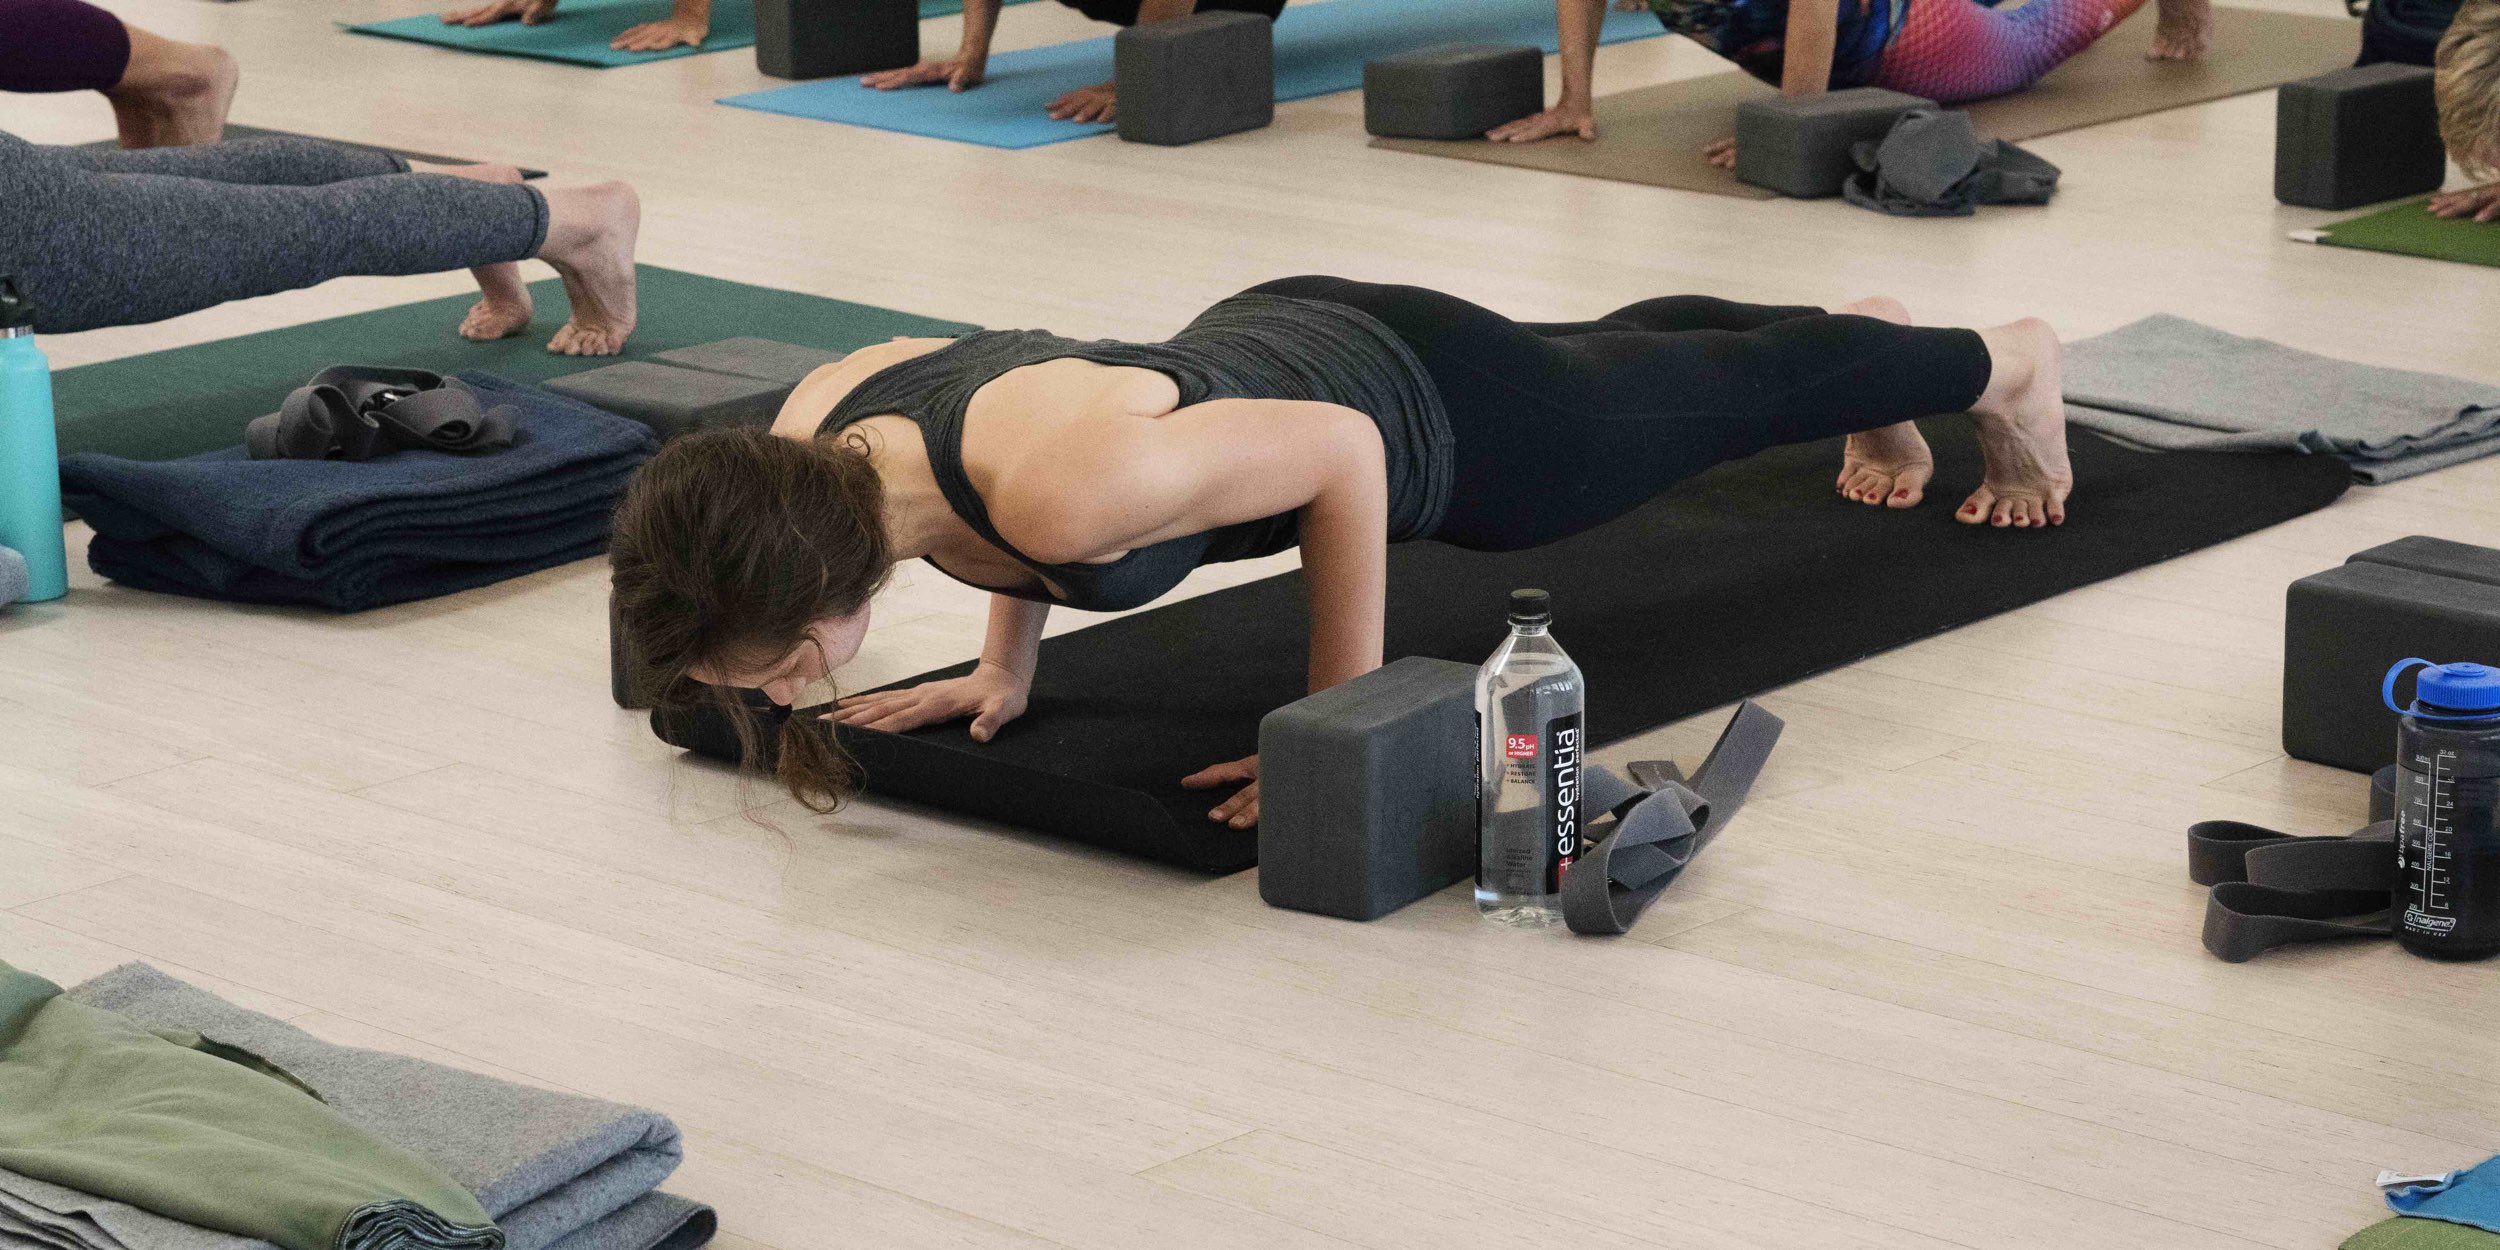
 1.  From Adho Mukha Shvanasana (Downward Facing Dog Pose), swing your torso forward into Plank Pose. 1 Align your shoulders over your wrists (so the arms are perpendicular to the floor), and firm your shoulder blades against your back torso. With the torso parallel to the floor, lengthen your tail bone toward the heels.


 2.  On an exhale, bend your elbows and slowly lower your torso and legs to within a few inches of the floor. It’s common in this pose for the lower back to sag toward the floor and the tail bone to poke up toward the ceiling. To counter this, firm (but don’t tuck) the tail bone toward the pubic bone, and firm the lower belly to bring the navel and the pubic bone closer together. Alternatively, if you lack the strength to hold the torso/legs off the floor, then it’s acceptable to bend the knees to the floor for extra support.


 3.  Broaden your shoulder blades and hold the upper inner arms close to the sides of the torso, don’t let the elbows splay. You can stay on the balls of your feet or swing slightly forward onto  the tops of your feet with the toes pointed back.


 4.  As you do with Downward Dog, firm the bases of the index fingers against the floor. Beginners should look down at the floor, more experienced students can look forward as long as the back of the neck doesn’t get compressed.


 5. Chaturanga Dandasana is one of the positions in the Sun Salutation sequence. You can also practice this pose by itself, holding anywhere from 15 seconds to a minute. When you’re ready to exit, release yourself to the floor with an exhale. Alternately, you could press back on an inhale to Downward Dog; just be sure not to arch back and compress the lower back. Keep the spine long and press back from the top thighs.


Benefits:

  • Strengthens the arms and wrists

  • Tones the lower abdomen


Contraindications:

  • Wrist injury or carpal tunnel syndrome


Beginner’s Tip:

In Plank, position a block on one of its sides (about 4 inches high) under each shoulder; each thumb should touch the end of the block that faces toward you, each index finger is then placed alongside the outside face of the block. Slowly lower your shoulders onto the blocks. If you need more support, position a third block under your thighs. You should then ideally be well supported and can get a feel for what the completed pose is like.


Intermediate’s variation:

In Chaturanga, rock back slightly, then quickly, on an exhale, hop yourself slightly up and forward, landing a few inches ahead of where you started. Continue for a few more forward hops, then try to hop backward, back to where you started. This is called Nakrasana (knock-RAHS-anna), which Mr Iyengar calls the Crocodile, but which may also mean Alligator.


 1 NOTE. “Plank” is what this pose is typically called in English; however, if we want to “Sanskrit it up” we can call it “phalakasana” (pa-la-KAHS-anna; the “ph” pronounced like the “p” in “pin” or “path”), phalaka = plank.