Tell us about yourself, Ann Thu.
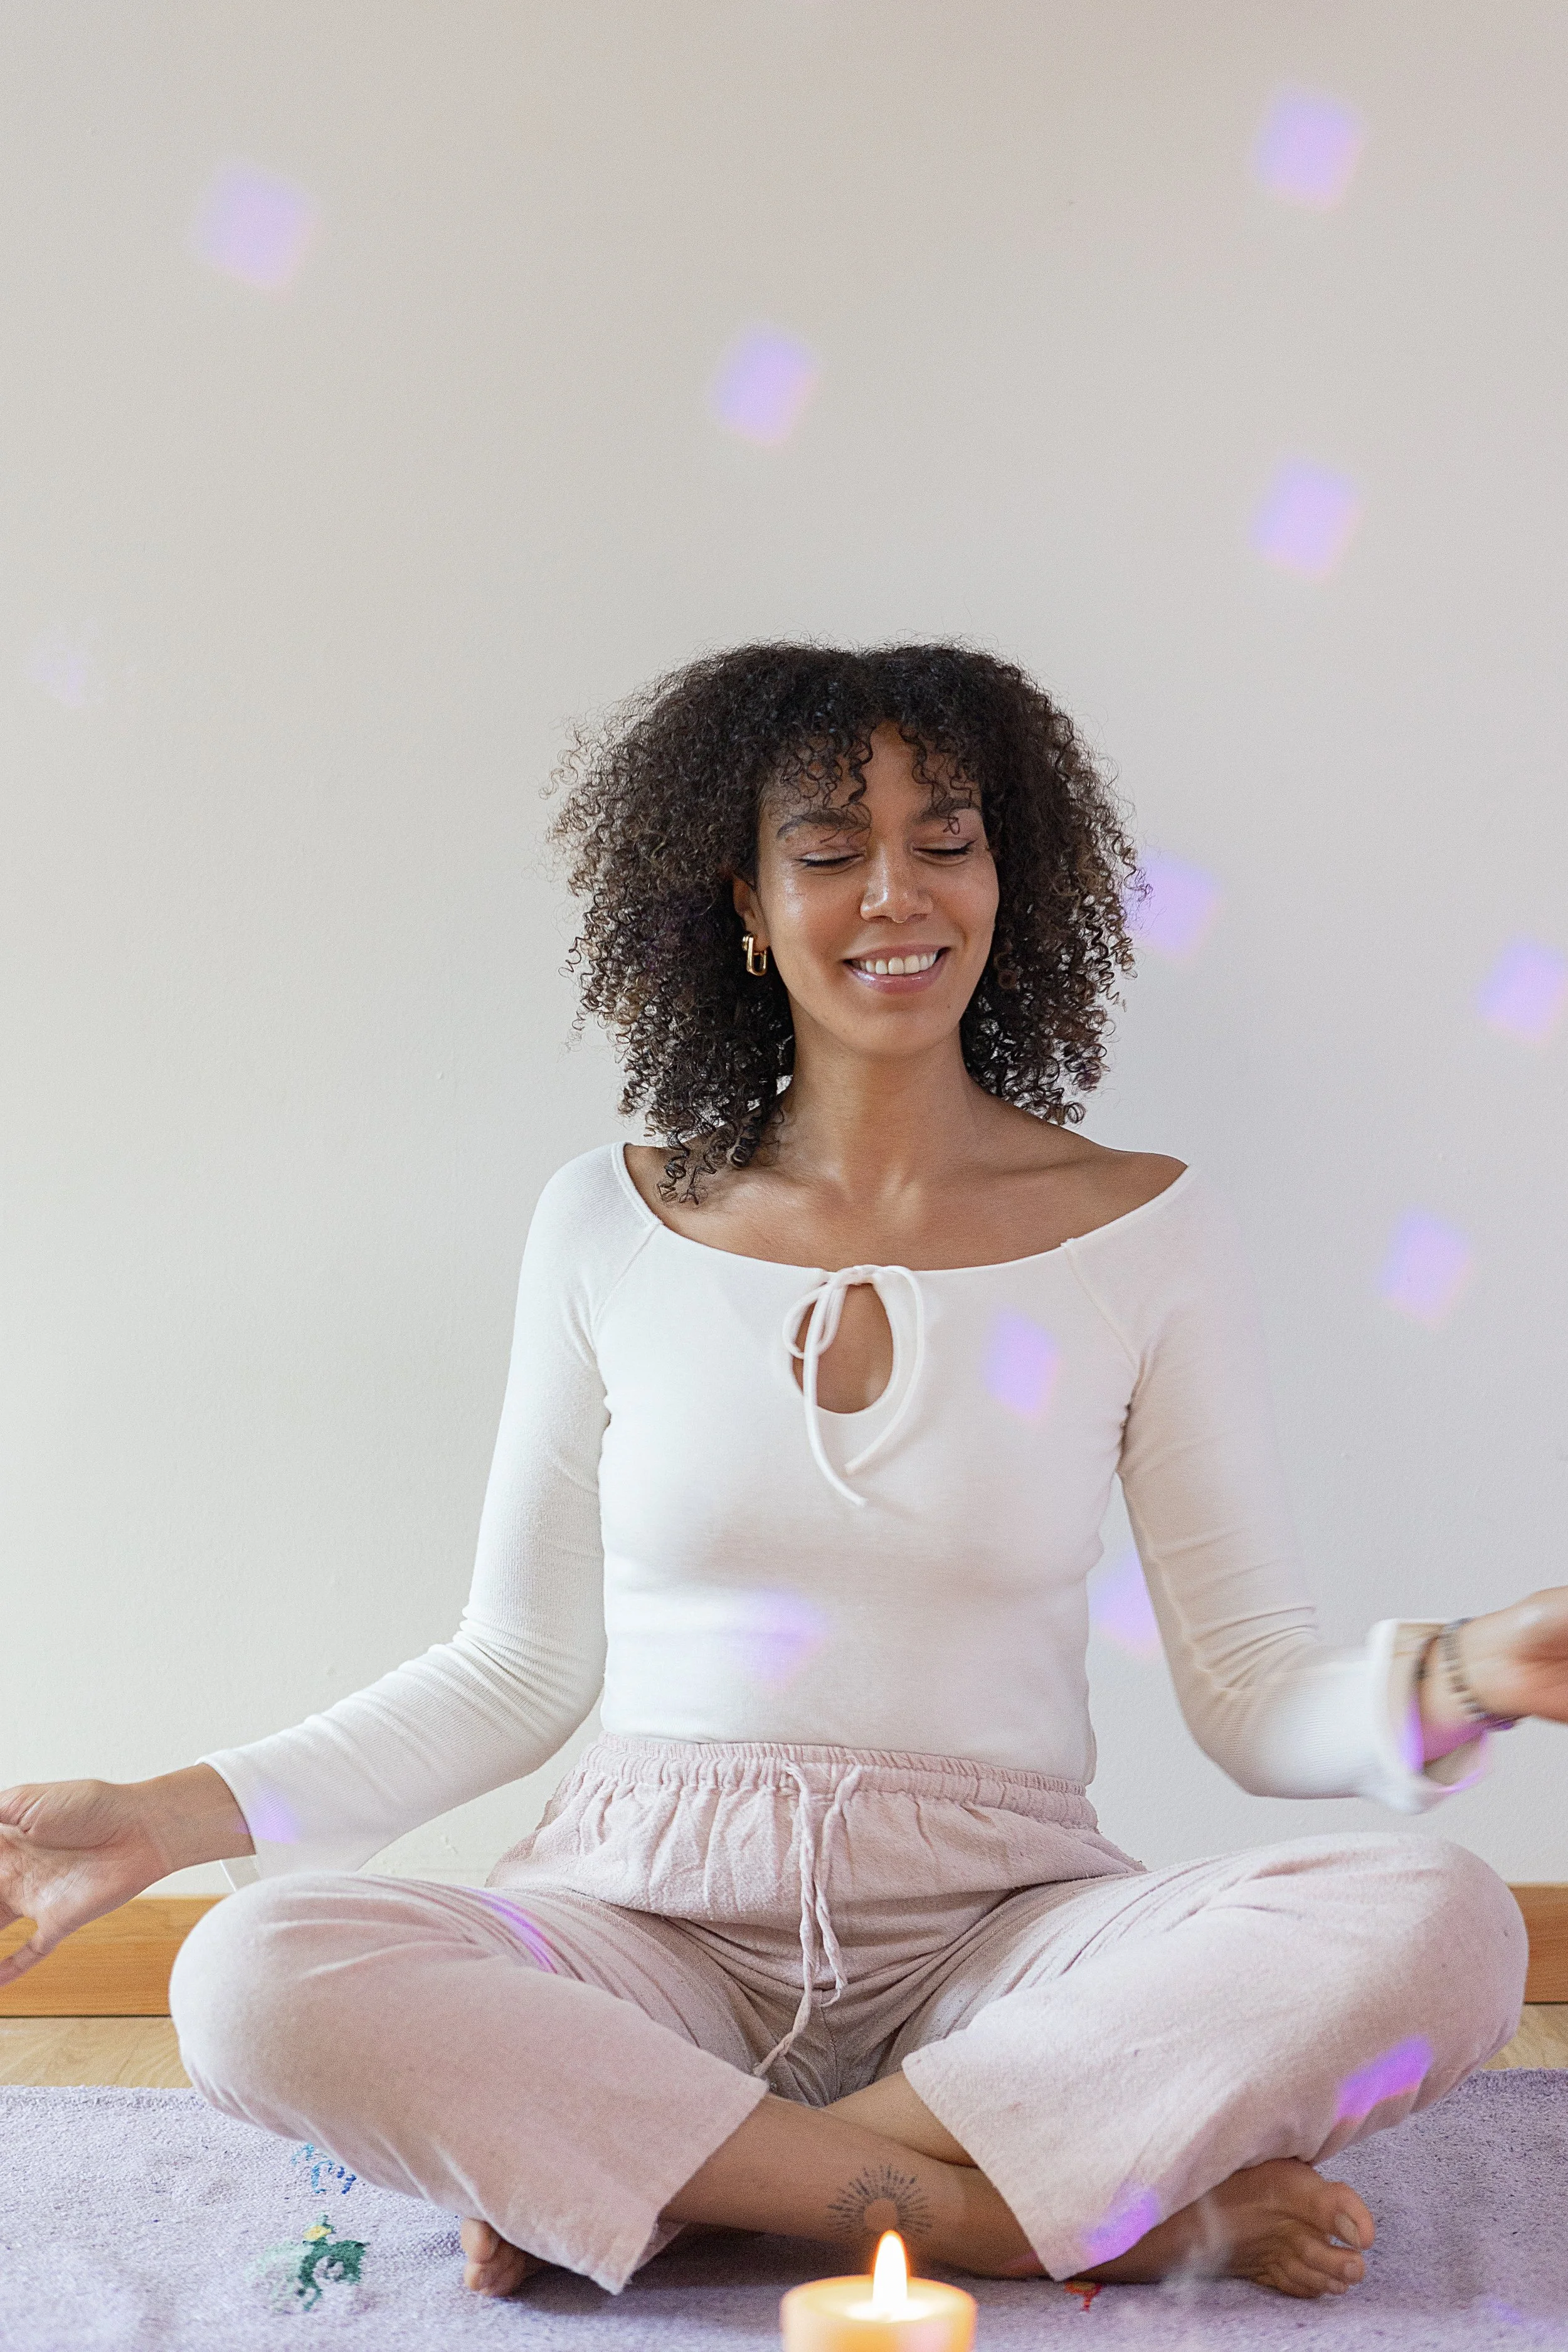
I'm a former consultant-turned-yoga-teacher. Working as a consultant brought me to New York and then San Francisco, and throughout this time I focused on the physical aspects of yoga, seeking a refuge from daily stressors. Gradually, my yoga practice shifted inward, and yoga offered me so many avenues and connections to people that helped me reconnect to what is true. I love living in the East Bay; it has all the things I'm fond of: beautiful coastlines, bold communities, my family, and just enough rainfall to make you appreciate the sunny days.
What do you love the most about practicing yoga?
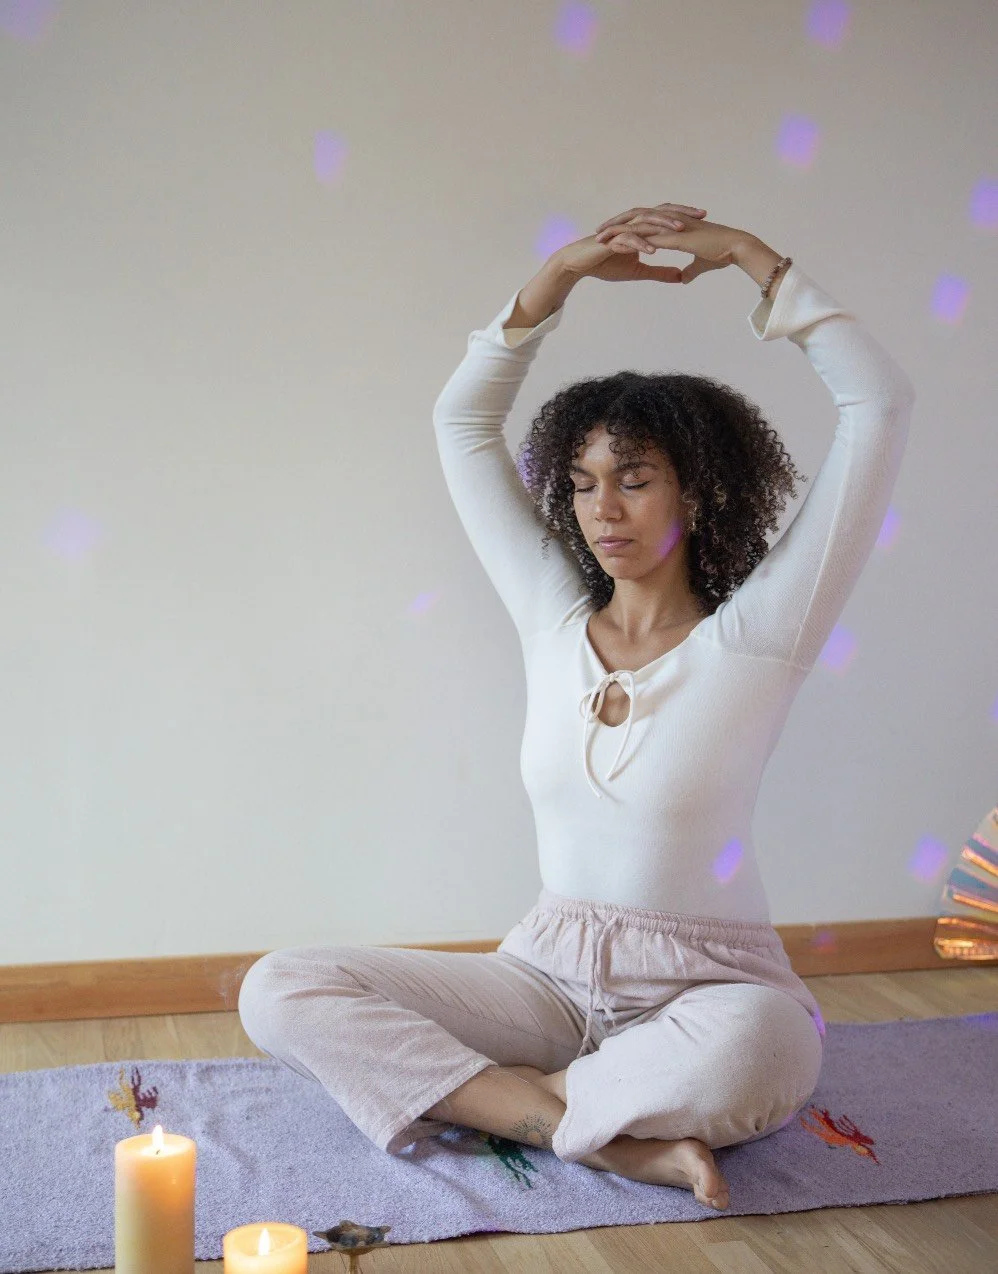
I love the connection to breath. The practice of coming back to the breath to calm the mind and the body is something I practice both on and off my mat. It recenters me throughout my day and keeps me mindful and present.
What do you love the most about teaching yoga?
Creating and holding space for folks to feel at home and empowered in their own bodies. Teaching yoga is an act of service, and I feel humbled and honored to reach so many people every day. My hope is that through this practice, folks not only feel more grounded in their bodies but also more connected to what lives in their hearts. May we all act from this place.
What is your favorite yoga pose?
Interesting...I do have asanas I turn to for different ailments...one I've come to appreciate is salamba sirsasana (headstand).

What is your favorite place to visit OR a place you'd like to go someday?
I've been to Vietnam a couple of times to visit family (both of my parents are from there). There remain countless sights and cities in Vietnam I've yet to see and it would mean a lot to me to explore more of the country of my ancestors.
What is one thing people would be surprised to know about you?
I really enjoy playing tennis! My dad taught my siblings and I to play, and it is a sport I've come to embrace. My father was a refugee following the Vietnam War, and he learned to play tennis here in the US; he loves the sport. In a way, the court offered a level playing field. My dad has a knack for creating community through tennis. Wherever he goes, he'll find a tennis court and inevitably make new friends (some might say tennis rivals :)
What is your favorite quote, or your favorite piece of advice?

PYS 2.33
~ Translation by Manorama
This sutra is one of my favorites. It is simple yet effective. How elegant! When I catch my mind spiraling, I use this sutra to check my thoughts and change my thinking. In doing so, I shift my energy and act more mindfully.
What else would you like our community to know about you?
I'm always looking to grow and find new ways to share yoga. If you want to learn more about me or stay in touch, reach out! You can find me at plantingpeaceyoga.com.