
RICHARD ROSEN'S ASANA BREAKDOWN - HANUMANASANA
HANUMANASANA
(hah-new-mahn-AHS-anna)
Hanuman’s Pose. Literally hanuman means “having large jaws.” Hanuman is a well-known and venerated figure in Hindu mythology. He’s the semi-divine chief of an army of monkey warriors, allied with the hero Rama in India’s great epic, the Ramayana. He’s the son of the wind god, Vayu (or Pavana).
It was the greatest leap ever taken. The speed of Hanuman’s jump pulled blossoms and flowers into the air after him and they fell like little stars on the waving treetops. The animals on the beach had never seen such a thing; they cheered Hanuman, then the air burned from his passage, and red clouds flamed over the sky. (from the Ramayana, retold by William Buck).
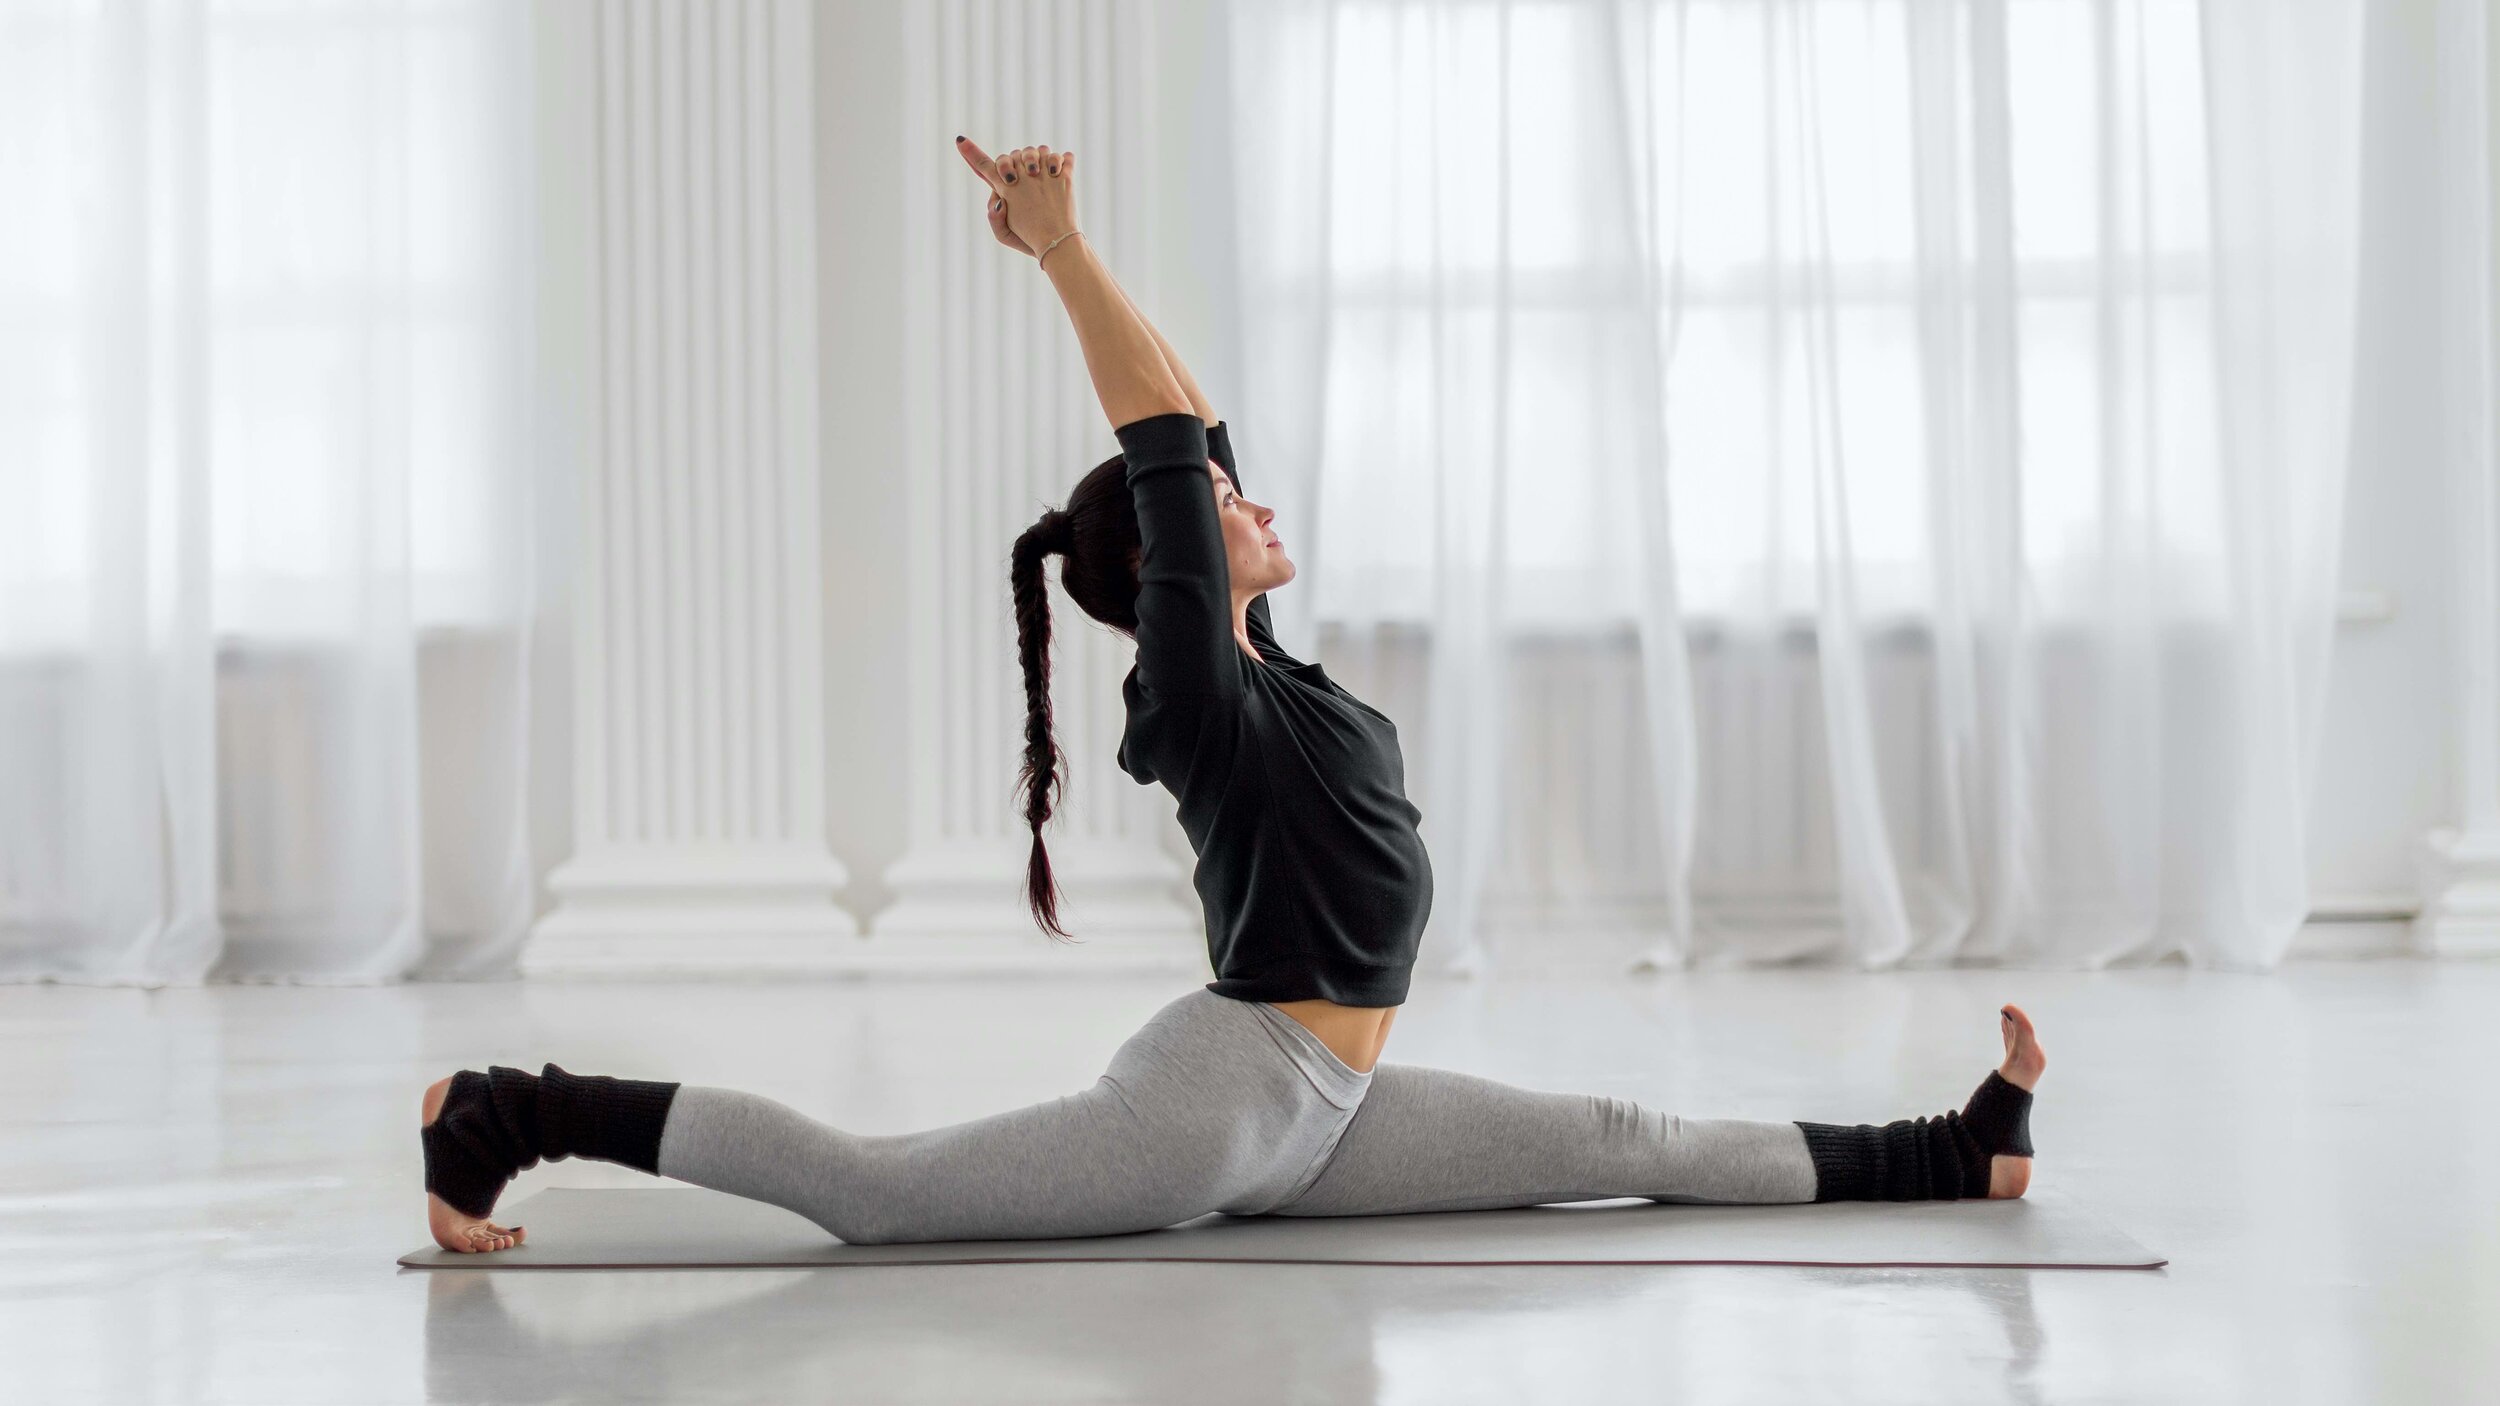
This pose then, in which the legs are split forward and back, mimics Hanuman’s famous leap from the southern tip of India to the island of Sri Lanka.
Practice this pose on a bare floor (without a sticky mat) with folded blankets under the back knee and front heel. You might also have a block or bolster within reach. Be careful though, this isn’t a pose to warm up with.
1. Kneel on the floor between the blankets. Step your right foot forward about a foot in front of your left knee, and turn the foot slightly out to the right. Then lift the sole away from the floor and rest the foot more on the outer heel. This will turn your right thigh outwardly.
2. Exhale and lean your torso forward, pressing your fingertips to the floor. Slowly slide your left knee back, straightening the knee and descending the front thigh toward the floor. Stop moving the knee a little before you reach the limit of your stretch.
3. Now begin to push the right heel away from your torso. Go slowly at first, gradually turning the leg inward as the knee straightens (but keep the outer hip releasing toward the floor). At some point you’ll be back on the back of the right heel. As the front leg straightens, resume pressing the left knee back, and carefully descend the front of the left leg and the back of the right leg (and the base of the pelvis) to the floor. Make sure the center of the right knee points directly up toward the ceiling.
4. Also check to see that the back leg extends straight out of the hip (and isn’t angled out to the left side), and that the center of the back knee cap is pressing directly on the floor. Keep the forward leg active by extending through the back of the heel and lifting the ball of the foot toward the ceiling. Bring the hands into Anjali Mudra or stretch the arms straight up toward the ceiling.
5. Stay in this pose for 30 seconds to a minute. To come out press your hands to the floor, turn the front leg out slightly, and slowly return the front heel and the back knee to their starting positions. Then reverse the legs and repeat for the same length of time.
- Benefits
Stretches the thighs, hamstrings, groins
- Contraindications
Groin or hamstring injuries
- Modifications & Props: Either because of tightness in the backs of the legs or front groins, many students just beginning to learn this pose are often unable to get the legs and pelvis down on the floor. While in the starting leg position then (as described in step 1 above), place a thick bolster below the pelvis (with its long axis perpendicular to your inner legs). As you straighten the legs, slowly release your pelvis down onto the bolster. If the bolster isn’t thick enough to comfortable support your pelvis, add a thickly folded blanket.
- Preparatory Asanas
Baddha Konasana
Janu Sirsasana
Paschimottanasana
Prasarita Padottanasana
Supta Virasana
Supta Baddha Konasana
Supta Padangustasana
Upavistha Konasana
Urdhva Prasarita Padasana
Uttanasana
Virasana
- Beginners Tip: To increase the length of the torso and spine, press the back foot actively into the floor and, from this pressure, lift the shoulder blades firmly into your back.
- Advanced Tip: The arms are raised overhead from the “trigger” of the lower back ribs. Take the back ribs away from the top of the pelvis, and use this lift to reach the arms closer to the ceiling. Lengthen along the backs of the arms, stretching your pinkies a little closer to the ceiling than the index fingers. Then pin the fingertips against the ceiling and release or “hang” the ribs from the arms. Yo-yo the ribs between the arms and the pelvis: relative to the pelvis, the ribs lift, boosting the arms closer to the ceiling; relative to the arms, the ribs drop toward the floor, increasing the stretch in the armpits.